
Windows 7 allows you to create a system image of your hard disk. In case of a disaster like virus attack or hard disk failure, you can use this image to restore your system back to as it was - all the programs, documents and settings restored. You can create this system image on a hard disk, a DVD disk or a network location (on ethernet). This is how you can create a system image in Windows 7.
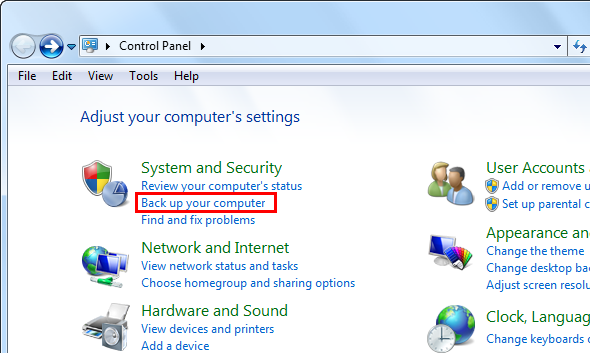
- Open Control Panel. And click on Backup your computer under the category System and Security.
- In the Backup and Restore window, click on Create a system image in the left side as shown

- Choose where you want to save the backup - hard disk, DVD drive, or a network location. The best option is to choose a separate hard disk drive as it is easily available when restoring from the image. Click Next to continue.

- Choose which drives you want to backup. Typically you would want to backup only the system drive (on which Windows is installed) and the boot drive(if it is different from the system drive). Click Next to continue.

- After you confirm by clicking on Start Backup, the backup process would start.

How to restore your computer from a system image ?
If you can login to Windows 7, then the best method is to use control panel.
- Open Control Panel → System and Security. Click on Restore your computer to an earlier time under the category Action Center as shown.

- Click on Advanced recovery methods
- Click on Use a system image you created earlier as shown.

If you cannot boot into Windows, then you will have to use Windows 7 DVD or recovery disk. Boot from the Windows 7 DVD or the recovery disk. Click Repair your computer. Select a recovery option, and then click Next.
No comments:
Post a Comment